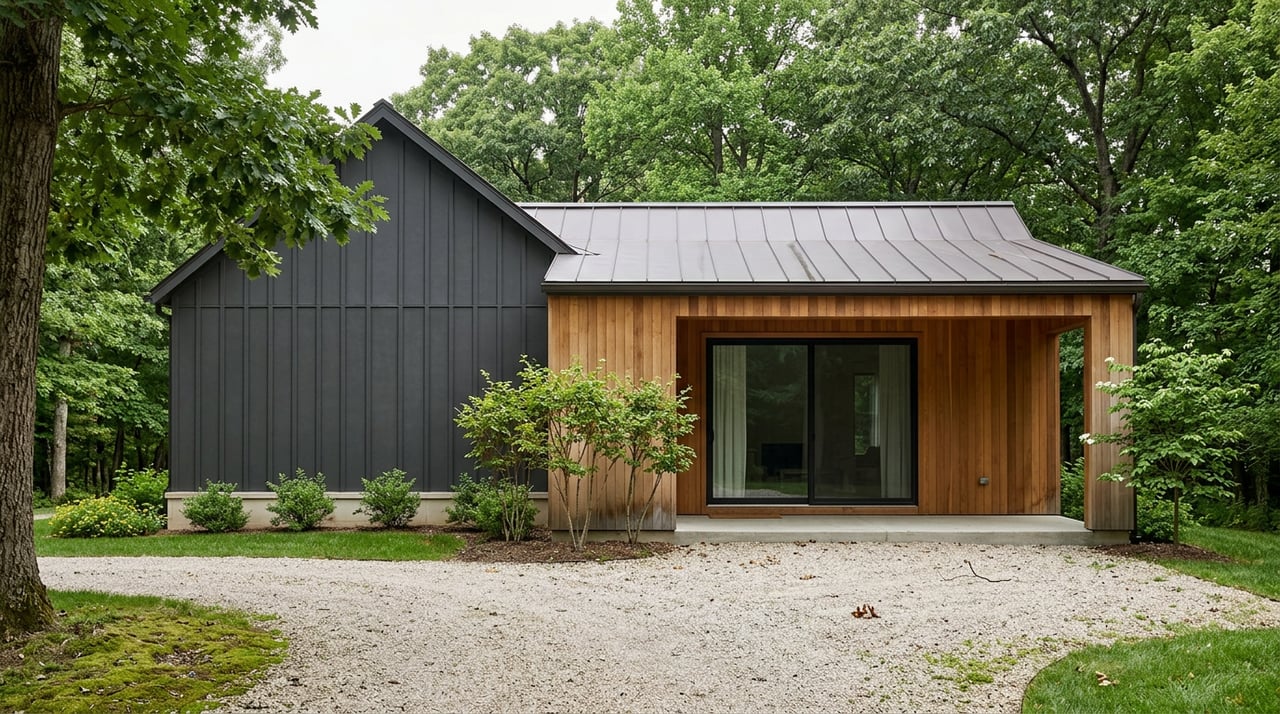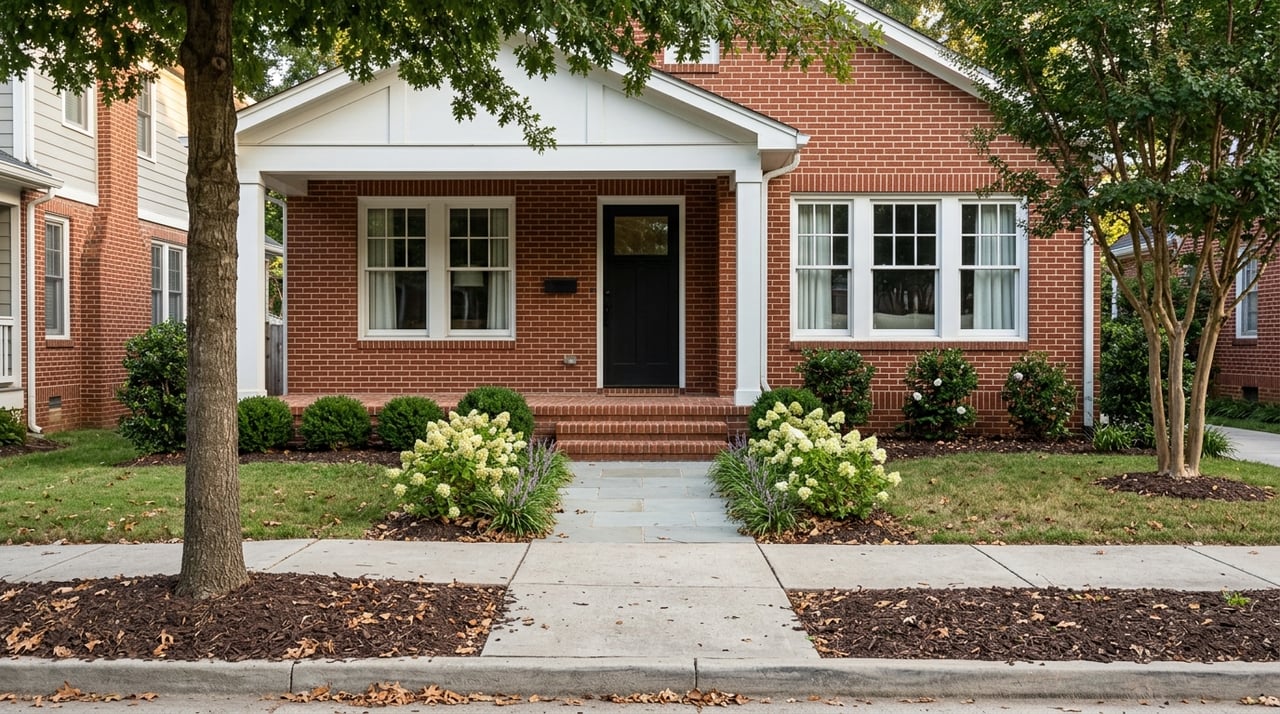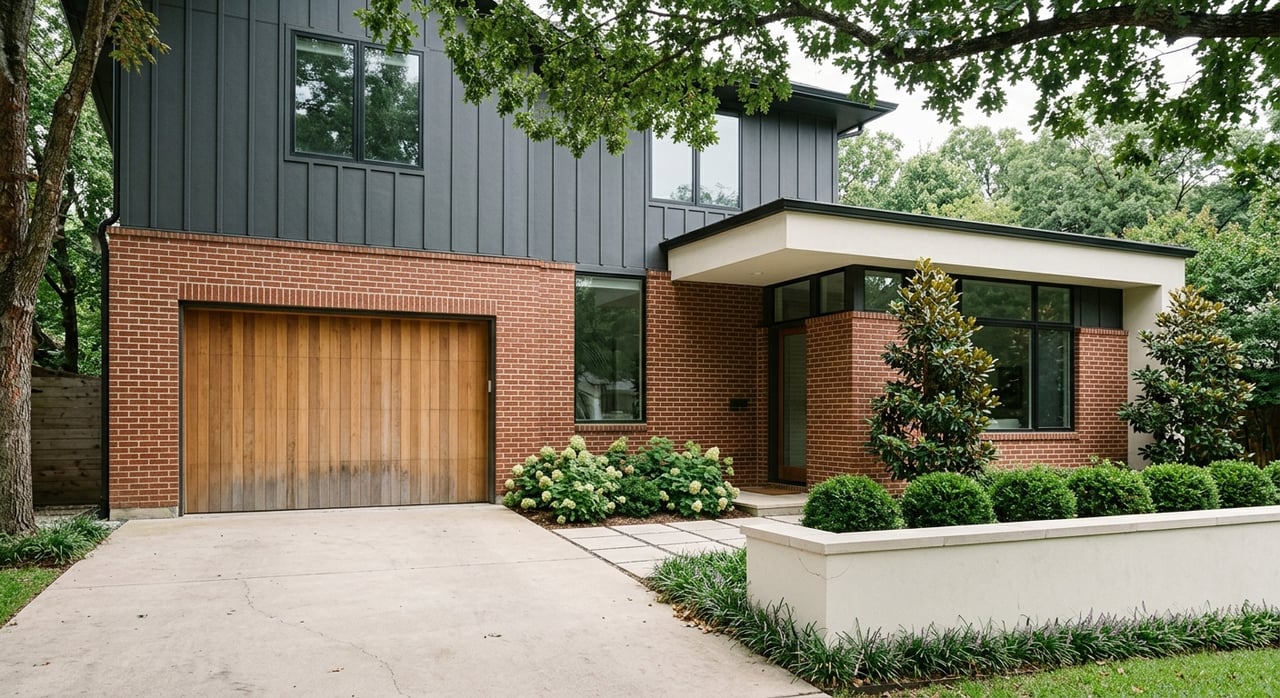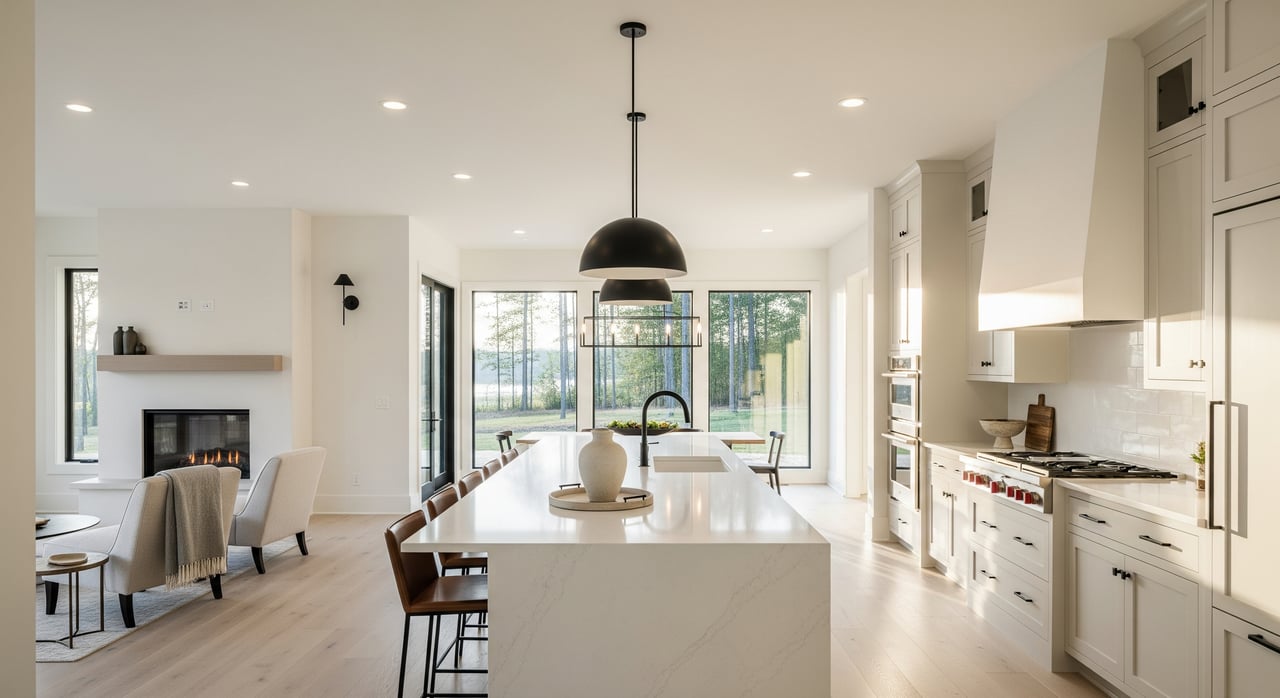
You expect a brand-new home to be flawless. The truth is, even the best builders can miss details without a careful walkthrough plan. If you are building in Copper Pine, a smart walkthrough strategy will protect your investment, reduce surprises at closing, and set you up for a smooth first year in the home. In this guide, you will learn the exact stages, who should attend, what to check, and how to handle punch lists and warranties in Davidson.
Let’s dive in.
What a walkthrough really is
A new-construction walkthrough is a series of planned inspections and orientations, not a single event. You will move through stages that start before drywall and continue after you move in. Local permitting, municipal inspections, and the builder’s warranty terms will shape the timing and what counts as an acceptable fix.
In Copper Pine, expect coordination with the Town of Davidson for local rules and with the county inspections office for permits and the Certificate of Occupancy. Plan your walkthroughs around these milestones so closing stays on track.
Walkthrough timeline in Copper Pine
Pre-contract site orientation
Before you sign, review the lot plan, proposed grading, setbacks, and any HOA or CCR rules. Ask how stormwater will be managed and where easements may limit future changes. Confirm any tree preservation or landscape requirements that could affect your final yard.
Pre-drywall framing check
This is the best time to spot issues that will be hidden later. A licensed home inspector experienced in new construction can review framing, rough plumbing, electrical runs, and HVAC duct routes. You can also confirm insulation plans and any changes to outlets, low-voltage, or specialty framing.
Mechanical and commissioning check
Before finishes are complete, verify system function and access. Focus on HVAC sizing and duct sealing, water heater setup, and initial balancing where available. Early attention to airflow and humidity management can prevent comfort and moisture problems later.
Final pre-closing walkthrough
This is your main punch list opportunity, usually after municipal finals and the Certificate of Occupancy are complete. Test every system, capture cosmetic and functional items, and set expectations for repairs. Bring your inspector’s report, your agent, and a clear plan for deadlines.
Orientation and move-in
Your builder or site representative will show you mechanical systems, maintenance points, and warranty procedures. Take notes and photos. Confirm warranty start dates and how to submit requests.
Warranty or 11-month walkthrough
Around month 11, document any items that developed after move-in. Many builders cover workmanship for one year and may offer longer structural coverage, but terms vary. Save all repair records so claims are easy to process.
Who should attend each stage
- Buyer: sets priorities, documents issues, approves fixes.
- Real estate agent: coordinates timing, explains contract terms, and advocates for you.
- Builder’s superintendent or site rep: records items and schedules trades.
- Third-party licensed home inspector: provides objective, written reports, ideally with new-construction experience.
- Specialists as needed: structural engineer, HVAC or plumbing pros, or WDI/termite inspectors for focused concerns.
Local issues to prioritize
- Grading and drainage: Our region’s clay soils and heavy storms make positive slope and downspout extensions essential. Watch for low spots near the foundation.
- HVAC commissioning and humidity: Poor duct sealing or airflow can cause high humidity and comfort problems. Ask for balancing details or initial commissioning documentation if available.
- Flashing and window installation: Proper housewrap and flashing help prevent moisture intrusion after heavy rain. Inspect around windows, doors, and penetrations.
- Crawlspace and attic moisture: Verify vapor barriers, ventilation, and insulation levels. Look for condensation or damp insulation.
- Cosmetic finishes: Expect minor paint, caulk, or trim touch-ups. List them, but prioritize safety and function first.
- Termite and WDI risk: Confirm pre-treatment and understand ongoing protection options for our area.
- Foundation and settlement: Hairline cracks can be normal. Larger cracks or uneven floors call for further evaluation.
Your Copper Pine walkthrough checklist
Use photos, videos, and time-stamped notes. Put safety and habitability at the top.
Exterior
- Grading and drainage: Positive slope, no standing water, downspouts connected and extended.
- Foundation and masonry: Note cracks, mortar gaps, or signs of settlement; check crawlspace or basement access and moisture.
- Roof and flashing: Shingles seated, ridge caps, flashing at chimneys, valleys, and penetrations; gutters and downspouts intact.
- Siding, trim, and paint: Proper seams, caulking at windows and doors, no soft spots.
- Windows and doors: Smooth operation, tight locks, intact weatherstripping; check thresholds and exterior grade.
- Driveway and walks: Cracks, trip hazards, and proper slope away from the house.
- Landscaping and easements: Plantings per plan, tree protection or replacements if required, and any retaining walls.
Interior
- Floors and finishes: Level surfaces, tight seams, correct grout lines, no gaps or warping.
- Walls and ceilings: Smooth finish, consistent paint, tight corners and seams, check around windows and doors.
- Doors, hardware, and trim: True alignment, smooth latching, consistent paint and caulk.
- Windows: Open and close easily, intact screens, no condensation between panes.
- Cabinets and counters: Plumb and level boxes, doors and drawers glide, sealed backsplash seams.
- Stairs and railings: Secure and spaced to code.
Systems and utilities
- Electrical: Test all switches and outlets, including GFCI and AFCI; confirm panel labels; test smoke and CO detectors.
- HVAC: Thermostat operation, even airflow from vents, clear condensate lines; note return and supply locations.
- Plumbing: Check visible fittings for leaks, water pressure, proper drainage, water heater function and relief valve.
- Appliances: Run each appliance, confirm manuals and accessories, and verify venting and hookups.
- Insulation and ventilation: Adequate attic insulation, baffles at eaves, crawlspace vapor barrier where applicable.
- Fire and safety: Detector locations, garage fire separation, egress windows in bedrooms.
Documentation and compliance
- Building permits and inspection signoffs, including the Certificate of Occupancy.
- Builder warranty documents and claim process, with start date.
- Manuals, mechanical schematics, and any third-party warranty certificates.
- HOA and CCR documents and contact information.
- Utility confirmations and any as-built or landscape and drainage plans.
Key questions to ask the builder
- What inspections and permits are complete, and can I review all final signoffs and the Certificate of Occupancy?
- Can my independent inspector attend pre-drywall and mechanical checks, and how do we schedule that?
- What does the written warranty cover, when does it start, and how do I submit and track requests? Is there a separate structural warranty?
- Who is my point of contact after closing, and what is the typical timeline to complete punch-list items?
- How will you finalize grading, landscaping, and any common-area items? Are there pending infrastructure pieces I should know about?
- Was termite pre-treatment performed, and what ongoing pest protection is included or recommended?
- Will I receive as-built plans or mechanical schematics at closing?
Punch list, negotiation, and follow-up
Document everything with photos and a dated checklist. Send one consolidated list to the builder by email and hard copy. Put safety and livability items first, then schedule cosmetic items.
Set reasonable deadlines and get them in writing. If work is not complete by closing, review your contract for options such as a written commitment, an escrow holdback in limited cases, or a delayed closing. Keep copies of all lists and repair receipts, which can support warranty claims later.
Permits, inspections, and warranties in North Carolina
Your builder coordinates municipal inspections and the final Certificate of Occupancy. Before closing, verify that permits are closed out and that the C/O is issued. Local rules in Davidson and county inspections can affect timing.
North Carolina sets minimum construction standards through the state building code. Home inspectors are licensed at the state level, so hire a licensed pro who knows new construction. Written builder warranties commonly include one year for workmanship, with structural coverage varying by program, so read the documents and note exclusions.
When to bring in specialists
- Licensed home inspector: Use one with new-construction experience for each stage.
- HVAC commissioning specialist: Helpful if airflow, sizing, or humidity concerns arise.
- Structural engineer: For significant foundation, framing, or settlement questions.
- WDI or termite inspector: To confirm pre-treatment or plan ongoing protection.
- Municipal and HOA contacts: For permit status, C/O confirmation, and rule guidance.
Make your move easier
You should enjoy your first day in a Copper Pine home, not chase unfinished items. With a clear walkthrough plan, the right inspections, and strong documentation, you can close on time and feel confident about warranties and maintenance. If you want a local guide to coordinate stages, review reports, and keep your closing on track, we are here to help.
Have questions about your Copper Pine build or walkthrough plan? Connect with SERHANT. North Carolina for buyer representation and new-construction guidance that puts your interests first.
FAQs
What happens during a pre-drywall inspection in Copper Pine?
- An inspector reviews framing, rough plumbing, electrical runs, and HVAC duct routing before walls are closed, which is the best time to catch hidden issues.
Who schedules municipal inspections and the Certificate of Occupancy in Davidson?
- The builder typically coordinates county and town inspections, and you should verify final signoffs and the Certificate of Occupancy before closing.
Should I hire a third-party inspector for a new home in North Carolina?
- Yes, hire a licensed inspector with new-construction experience to provide objective reports at key stages and during the final walkthrough.
When does the builder’s warranty start and what does it cover?
- Warranties usually start at closing, often with one year for workmanship and longer structural coverage depending on the program, so read the written terms and exclusions.
What if my punch list is not finished by closing?
- Check your contract for remedies such as written completion commitments, an escrow holdback in limited cases, or adjusting the closing date, then track items to completion.